Crafting your own terrarium: a guide to becoming a miniature god
So, you’ve decided to create your own little universe in a jar. Just what the world needs – another self-proclaimed god, just on a micro-scale. Good for you! Bringing a piece of the wild into your home can be a gratifying experience, whether you’re a seasoned plant parent or a newbie just starting your indoor jungle.
Now let’s dive into the essentials of creating your own self-sustaining jungle (if the phrase self-sustaining leaves you scratching your head, do check out our previous blog post on DIRTY ROOTS BERLIN)
Step 1: Pick the right vessel
The world of terrarium containers is vast and varied – ranging from clear glass jars and fish bowls to repurposed tanks you may have found during a weekend scavenger hunt. There are plenty of possibilities, and many of them don’t break the bank. What matters most is visibility and enough space for your plants to grow. A wide opening is also key, because it allows you to fit your hand inside to add all the necessary components (and organise decorations to your liking of course!).
For inspiration, check out the DnD-themed fishtank terrarium crafted by Adam!
Step 2: Choose your plants
Your plant selection will largely depend on what type of container you have, so choose wisely – you’ll be determining the fate of these green beings.
If their home will be closed, then climate will end up being closer to tropical – warmer and humid. Plants that can work well in closed environments and with minimum airflow are typically ferns, moss, ivy or begonias; to name a few.
For the plants that prefer less humidity and more airflow, open terrariums work wonders. Drier conditions are best for air plants (tillandia), succulents and cacti for example. Be creative with your selection but be mindful not to overcrowd your mini garden for the health of your plants.
Step 3: Build your foundation
Whilst there’s nothing stopping you from tossing your plants into a glass jar and calling it a day, it probably won’t lead to the thriving tiny habitat you have in mind. Creating a stable foundation can help set up your terrarium for success – think of it as laying the groundwork for a tiny ecosystem. Here’s what I would recommend –
Start with drainage: by beginning with a layer of pebbles or coarse gravel at the bottom of your container, you give your plants a better chance of not drowning. This isn’t a strict rule, but it helps excess water escape.
Following your drainage layer, the general consensus is to sprinkle in about a quarter- to half-inch layer of activated charcoal (yes, the same kind you might use in aquarium filters!). It helps prevent any unwelcome fungi and maintains a fresh smell in your aquarium.
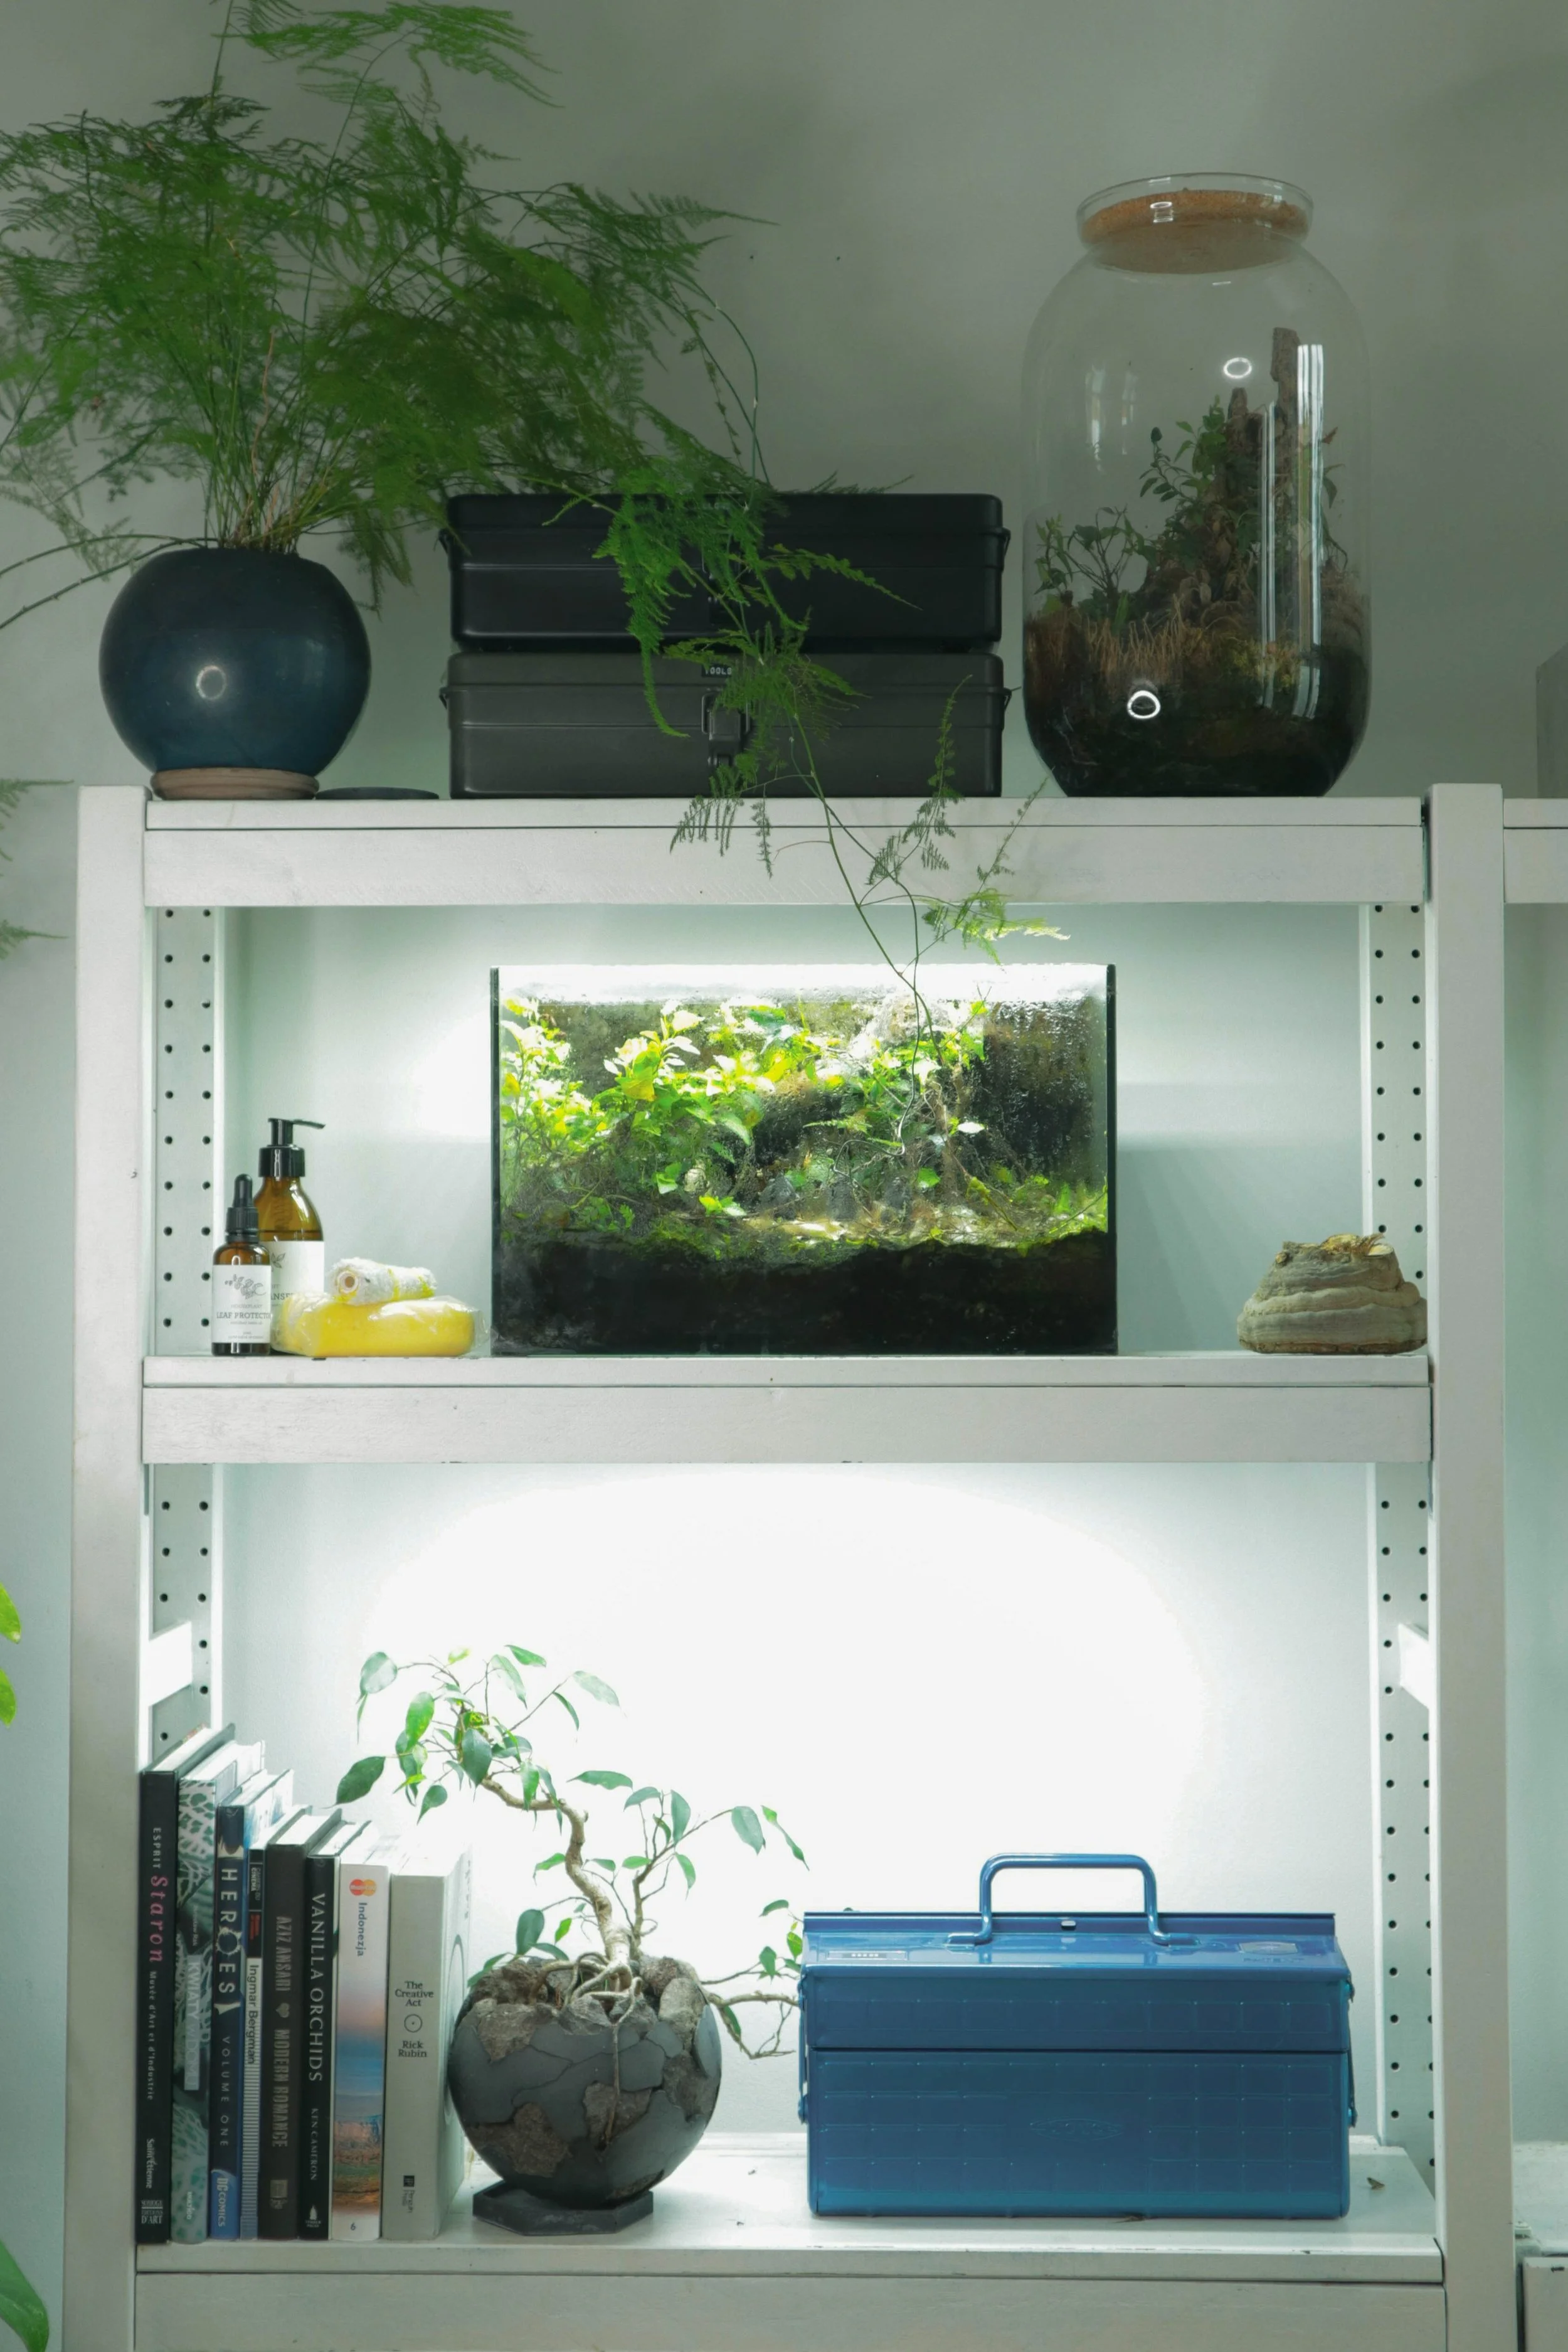
That said, if you’re feeling experimental, or you simply don’t have activated charcoal laying around somewhere, then you may want to skip this step – just keep an eye out for any funky odours or growths. One of our office terrariums also don’t follow this rule – have a look below!
Step 4: Incorporate moss and potting mix
Next up, introduce a layer of sheet moss. This acts as a handy natural barrier that prevents the potting mix from mingling with your drainage materials, and acts as a cozy blanket for your plants.
After the moss layer, it’s potting mix time – using a quality mix that suits the types of plants you’ve chosen to imprison (and nurture too, of course) is ideal. But of course, you can always try blending different mixes together or anything you might have laying around; ultimately it’s about creating a happy home for your greenery.
Step 5: Decide on a design
Time to play tiny landscaper and arrange your plants. When placing in your plants, I would recommend starting with the largest and work your way to the smallest. Also don’t be afraid to rearrange them!
Here are a few extra tips on this: by mounding soil in one corner or using small rocks, you can create levels to add dimension to your layout. Definitely add in some whimsical elements and a personal touch; throw in a random dinosaur (another sick photo of one of the office terrariums below!). After all, it’s your world!
Step 6: Watering, careful observation and maintenance
Even though terrariums are marked as ‘low maintenance’, that doesn’t mean that you can forget about them entirely.
Closed terrariums will tell you when they need hydration – just watch the condensation. If it starts to get too foggy, then you might need to crack it open for a bit.
Open terrariums might need occasional watering. But whether that’s a light misting or a gentle soak depends on the type of plant, your individual terrarium size and quite a few more factors – this is your opportunity to try different things out until your plants either thrive or die a noble death.
Step 7: Step back and behold your creation
Congrats, you’ve created a mini ecosystem! Now it’s time to display your masterpiece proudly, allowing everyone to marvel at your green thumb and newfound deity status. Enjoy the beauty that your terrarium can bring to your space and the tranquillity it can bring to your mind.


